Exploration
Innars
| Puzzle | Solution |
|---|---|
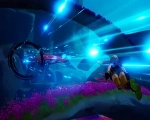
Current |
Idle inside the current to move quickly in one direction. |

Combat Simulation Device: Oceanic Model |
Interact to begin a simulated battle. Defeat all enemies before the simulation ends. |
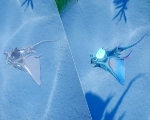
Lost Patrol Guard |
Find the invisible and moving Patrol Guard to claim rewards. |
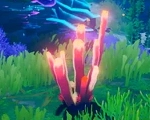
Symbiotic Sea Sponge |
Interact and catch the escaping fish. |
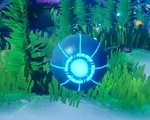
Surveillance Guard: Oceanic Model |
Swim to it quickly and shut it down to open the device. If you do not prefer to swim, you can also use the Quantum Cloak relic. |
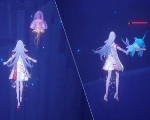
Plankton |
Attack a dolphin and lure them to you. Make the dolphin attack the plankton to claim rewards. |
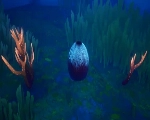
Cavity Coral |
Destroy the corals nearby to open the cavity and claim the rewards. |

Fish Baiter |
Activate the 3 mechanisms under the sphere to start the fish baiter. |
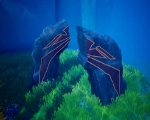
Ruin Stones |
Idle inside of the Jellyfish Matriarch nearby and try to combine the figure of the 2 stones. |
Miasmic Swamp
| Puzzle | Solution |
|---|---|
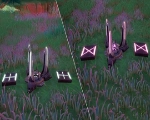
Pressure Trigger |
Pink: Step on the baseplates in the correct order to claim rewards. Blue: Invite a friend or use the Omnium Handcannon relic to stand on all baseplates at the same time. |
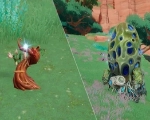
Brood |
Collect relevation seeds and elemental ores to spawn a strong enemy for a period of time. Eliminating these enemies before the timer runs out will give you a Germinated Revelation Seed |
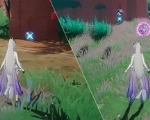
Mechanical Detector |
Activate the device and follow it to collect rewards such as Mira and Veron. |
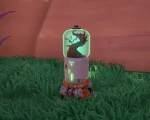
Purification System |
Attack the device until the 3 yellow bars are locked in the correct position, then obtain a relevation seed and a temporary immunity to poison. |
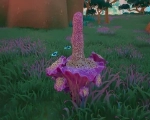
Titan Konjac |
A plant that emmits poisonous gas in a wide radius, relevation seeds often grow close to these. Using Germinated Revelation Seeds on a Titan Konjac will remove the poison being emitted. |
Confounding Abyss
| Puzzle | Solution |
|---|---|
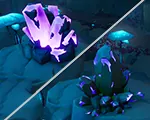
Ore Collection |
After activating the energy device, attack the ore veins with weapons of the corresponding element. |
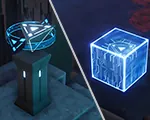
Energy Repeater |
Collect energy from the small pillar with an upside down pyramid (energy will appear as a glowing aura around your character's wrist). Find and strike the energy-sealed box before the aura runs out. |
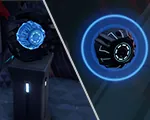
Sequence Monitor |
Interact with the monitor to view its camera. Go to the exact spot indicated by the camera. |
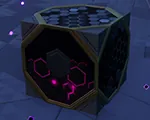
Chaos Cube |
Attack the cube until it breaks. |
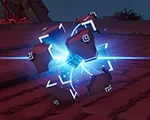
Simulation Engine |
Interact to begin a simulated battle. Defeat all enemies before the simulation ends. |
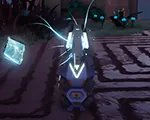
Energy Recovery |
Interact to scatter 2~4 energy crystals nearby. Collect them all within the time limit. |
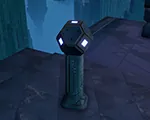
Hidden Passage |
Interact to generate platforms for an alternative path. |
Grayspace & Twilight Zone
| Puzzle | Solution |
|---|---|
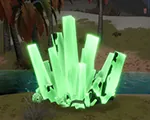
Energy Crystal |
Interact to recharge Mi-a's light source. Depending on the color of the crystal, you will receive different effects. Yellow: mobs are killable Green: regenerate HP, light up energy supplies Purple: increased speed and jump height, materialize invisible objects and enemies Red: increased ATK White: brightest light |
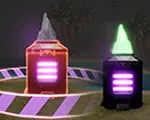
Rechargable Box |
Illuminate with Green energy from Mi-a. |
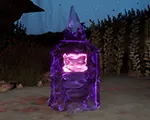
Invisible Box |
Illuminate with Purple energy from Mi-a. |
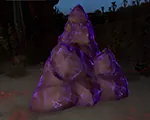
Camoflauged Box |
Illuminate with Purple energy from Mi-a. |
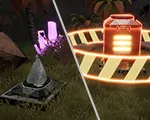
Large Secret Box |
Charge all the nearby energy supply devices with Green energy from Mi-a. |
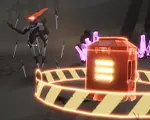
Guarded Secret Box |
Defeat the nearby Elite Monster to unlock the box. |
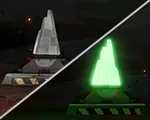
Energy Supply |
Illuminate with Green energy from Mi-a. |
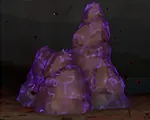
Camoflauged Energy Supply |
Illuminate with Purple energy from Mi-a to reveal. |
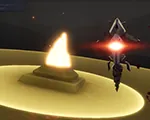
Alarm Power Supply |
Defeat the nearby monsters with Yellow energy from Mi-a to charge. |

Crystal Storage Device |
Interact to open. |
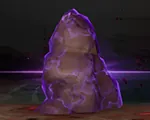
Camoflauged Storage Device |
Illuminate with Purple energy from Mi-a to reveal. |
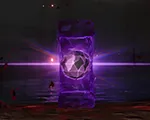
Invisible Storage Device |
Illuminate with Purple energy from Mi-a to reveal. |
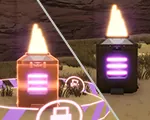
Alarm Box |
Defeat the enemies guarding the box while using Yellow energy from Mi-a. If the enemies are invisible, use Purple energy from Mi-a. |
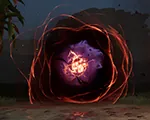
Collapsing Fissure |
Found between 4 purple crystal storage devices, this object does slight damage to you while you are opening the storage devices. |
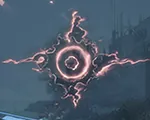
Spatial Rift |
Defeat the enemies guarding the rift. |
Mirroria
| Puzzle | Solution |
|---|---|

Amusement Simulation |
Participate in the minigame. Rules will be explained by interacting with the machine. |

Gossip |
Speak to NPC that's willing to share gossip with you. |
Lost Item |
Interact to pick up someone's lost item. Finders keepers! |
Vera
| Puzzle | Solution |
|---|---|

Hungry Critter |
Give the critter the food that it wants. |

Friendly Critter |
Perform the correct action to the critter. Actions can be performed from opening the chat and clicking the emotes button near the Send button. The dancing critter wants your applause and the waving critter wants you to wave! |
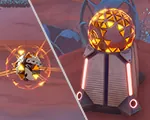
Elemental Supply Pod |
Attack 4 nearby floating orbs with the correct element to unseal the supply pod. |
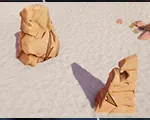
Trace Stone |
Stand in an area where the two split stones line up and the sigil glows yellow. Shift your camera to get the exact position that the stones line up. |

Lost Gerbil |
Guide the gerbil back to its burrow. Follow the route of small desert plants buried in the sand. |

Gerbil Nest |
Interact with the glittering gerbil to play a game. The 3 gerbils will swap burrows repeatedly. Find the glittering gerbil once they have finished swapping. |

Watcher |
Interact with the watcher before it closes its shell. Watchers will close their shell when you approach them. You can dash and rush straight at them, use the Quantum Cloak, or approach from above with the Jetpack. |

Cactus Fruit |
Attack the cactus with any weapon, then attack the bud that rises up afterwards. |
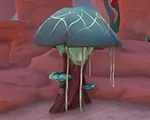
Cave Mushroom |
Find the spiky mineral and bring genetic stuff to the mushroom 3 times to grow it. |
Aesperia
| Puzzle | Solution |
|---|---|
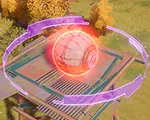
Supply Pod |
Interact to open. Some supply pods may be guarded by an Elite Monster or locked by a time gate. Supply pods are often found in conjunction with other puzzles. |
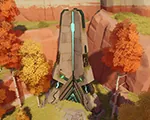
Ruins |
Clear the solo dungeon. Ruins can only be cleared one time, but have 3 difficulties unlocked by leveling up. |
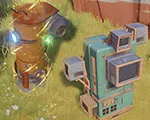
Training Facility |
Complete the Ability Training minigame. Different training facilities reward different amounts of Training Points. |
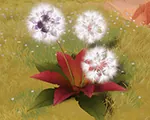
Dandelion |
Use any weapon to hit the dandelion and then hit the seed that has the black nucleus in it. |
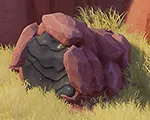
Tar Pit |
Attack with a Flame-element weapon. |
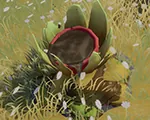
Kerosenia |
Attack with a Flame-element weapon. |

Chowchow |
Throw an Ice-Shell Ball into the Chowchow. Ice-Shell Balls are usually found near the Chowchow, though some may be hidden. |

Thornvine |
Attack with a Flame-element weapon. |

Glowshroom |
Jump on the glowshroom caps in the correct order. If you jumped on the correct one, there will be subtle visual and audio feedback. |

Ring of Echoes |
Face the puzzle from the circular pad with a square in the middle, and to the right is a pad between 2 Cactus Plants. Jump on that pad and once you do another Music Pad will light up and just follow the order that the pads glow in. |

Destroyable Rock |
Use the relic Missile Barrage to break the wall. |

Singularity Rock |
Use the relic Strange Cube to push the ball off the statue. |

Pillar Induction Stone Plate |
Use the relic Omnium Handcannon on the induction plate. |

Force Sensing Stone Plate |
Perform an aerial down smash attack on the plate with any weapon. |

Mushroom Man |
Speak with the Mushroom Man to participate in a minigame. Complete the game within the time limit. |
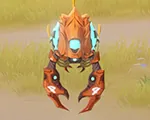
AI Servant |
Follow the AI Servant and it will lead you to an NPC. |
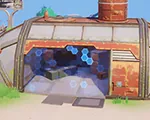
Energy Screen |
Enter the correct passcode into the terminal to remove the barrier. |
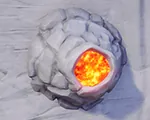
Lava Pit |
Attack with an Ice-element weapon. |

Telescope |
Connect the stars in the shape of the constellation. Correct connections will persist even after pressing reset, so you can continuously attempt all lines and reset until it's solved. |

Abandoned Truck |
Enter the correct passcode into the terminal to unlock the truck. |
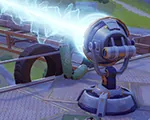
Concentration Ray |
Interact with the concentration rays in order to transmit energy between them. Each concentration ray faces the next ray, so after finding one you can trace them back to the start. There are two of these puzzles in Crown. |
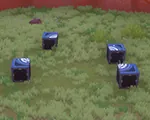
Spliced Metal Box |
Push the the box pieces together to connect the pattern on them. |
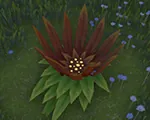
Earthphyte |
Throw the matching color flower bud into the Earthphyte. |

Nucleus Drone |
Destroy the drone with any weapon. Ranged weapon recommended. |
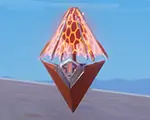
Deconstruction Device |
Input the correct passcode to unlock. |
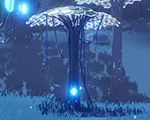
Silvercap Tree |
Interact with the tree to begin a minigame. Drop the crystal into the hole at the bottom, moving it left and right to avoid obstacles along the way. |

Sound-Tracing Device |
Interact with the sound tracing device to begin. Find Acoustic Module 01, which is Northwest from the device at the base of the light colored tree that splits at the base. Interact with the device again and find Acoustic Module 02, which is in the bush by the tent found to the South of the device. Interact with the device again and find Acoustic Module 03, which is South of the device, in the crevice under the cliff. The Acoustic Modules look like small iPads. |
